Fast & Simple

Check Your Email

Complete your purchase and find the email we sent you with the QR code. If you have not received your code, contact us.

Scan The QR Code

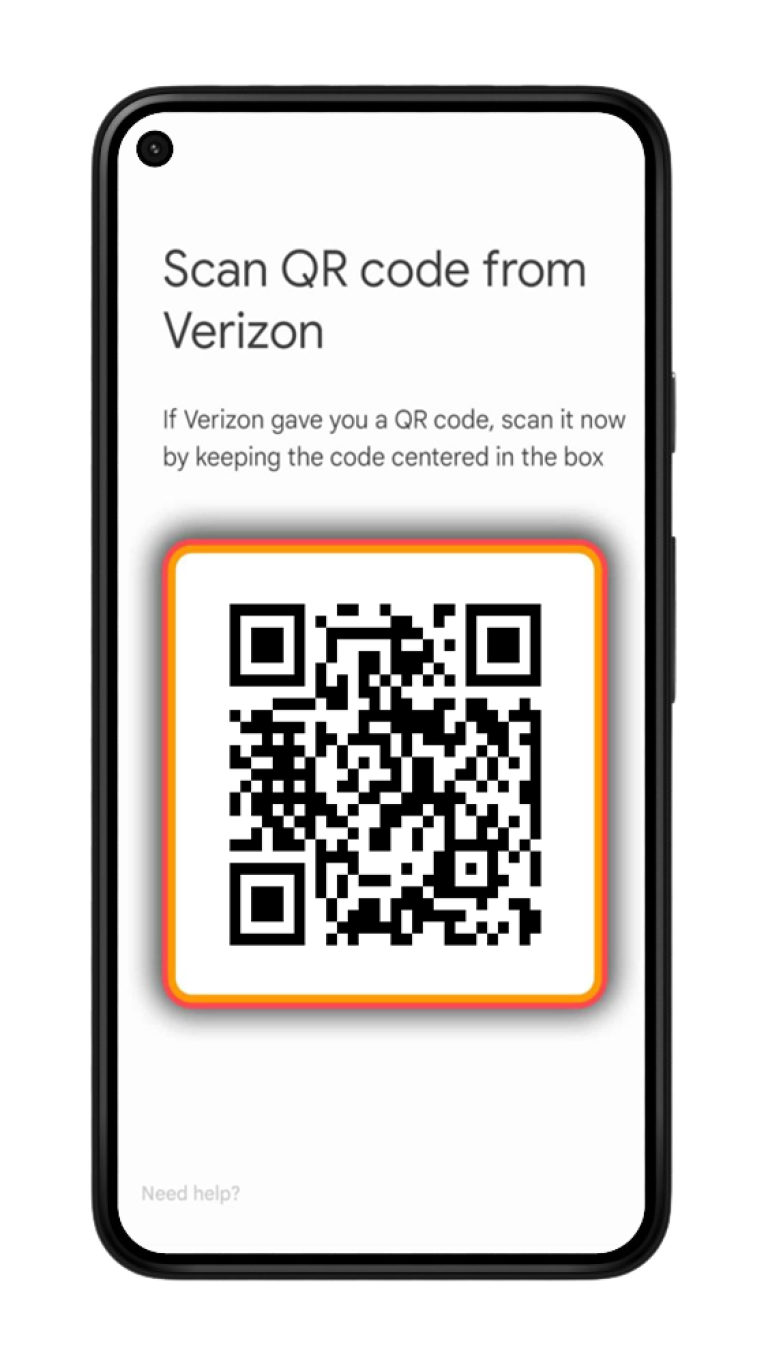
You can either open your camera and scan the code, or navigate to "Settings", select "Mobile Data" and choose "Add Data Plan" to scan the code from there.

Follow The Instructions

Scan the QR code to start the installation process. Use our guide below for step-by-step configuration.

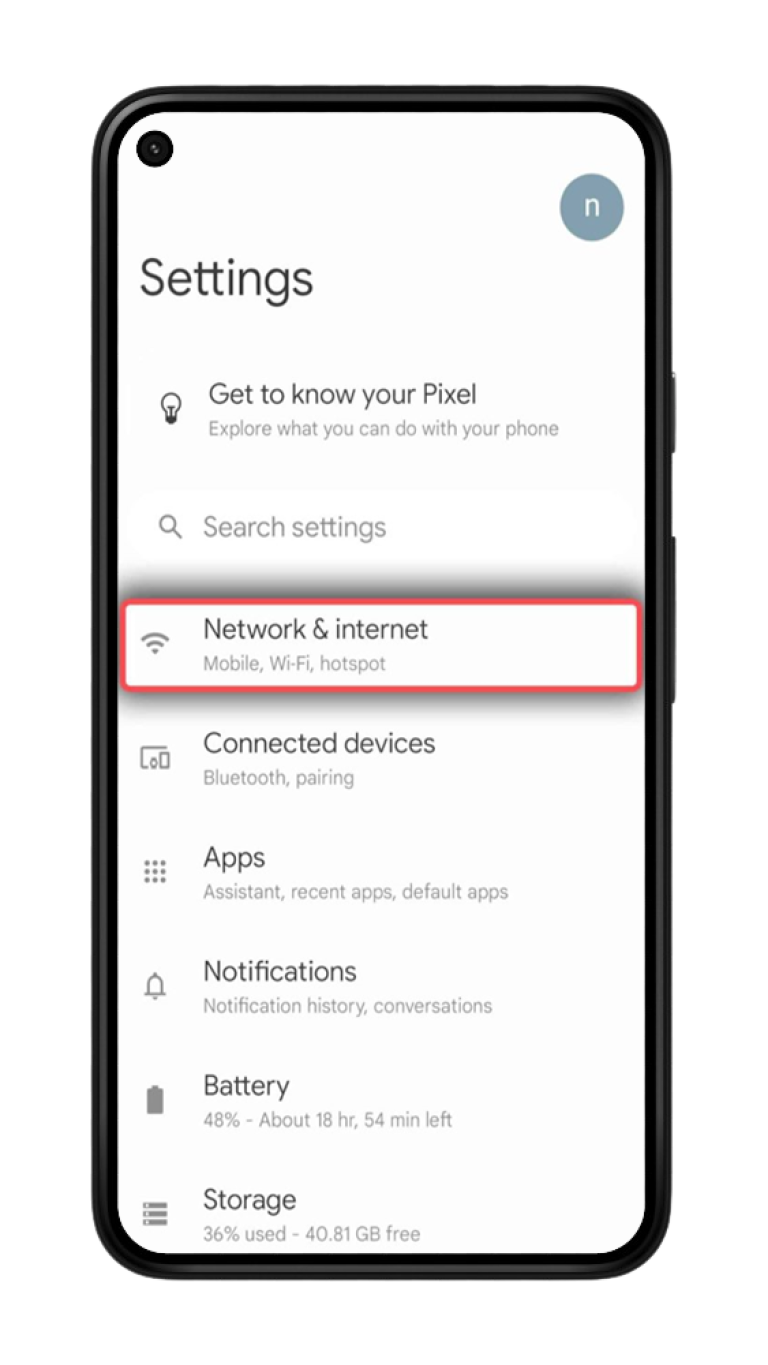
  1. On your Pixel device, go to Settings > Network & Internet.

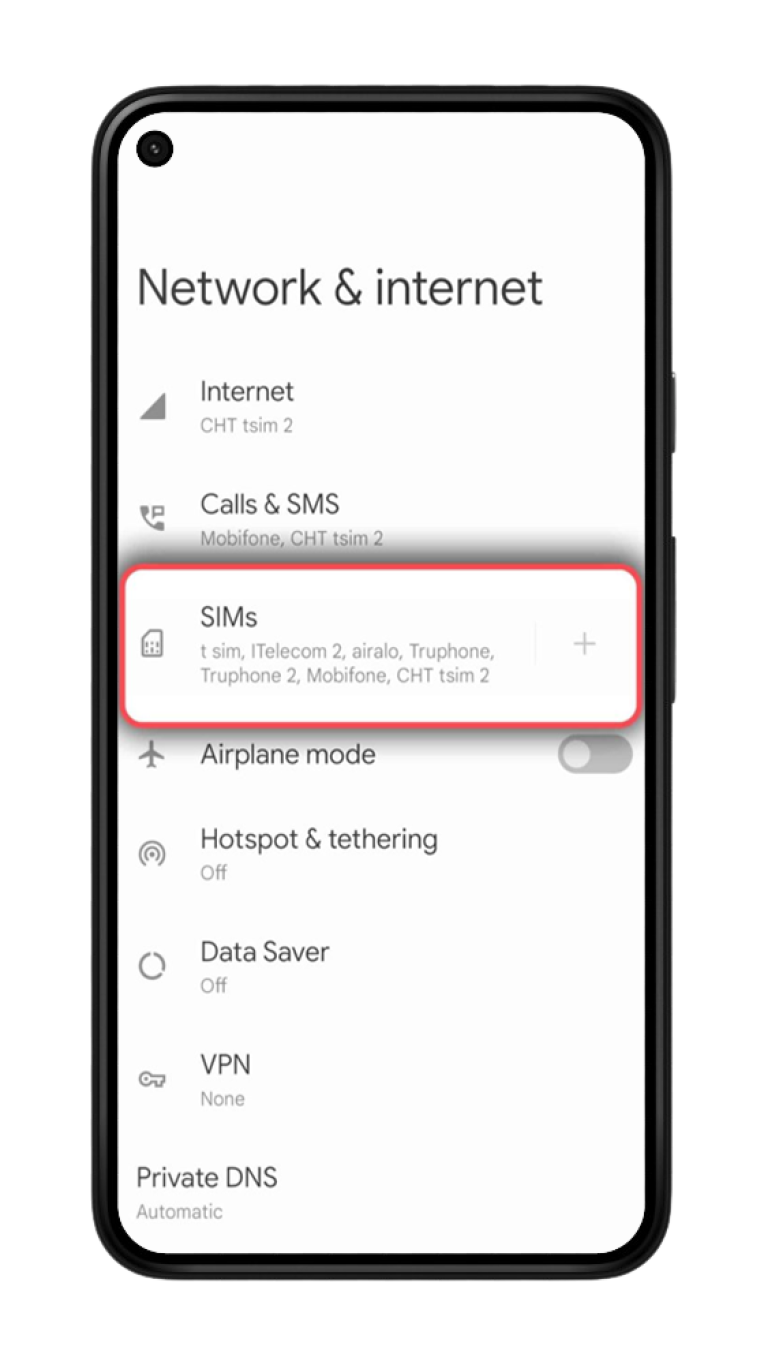
  2. Tap on the ‘t’ beside the SIM/Mobile network.

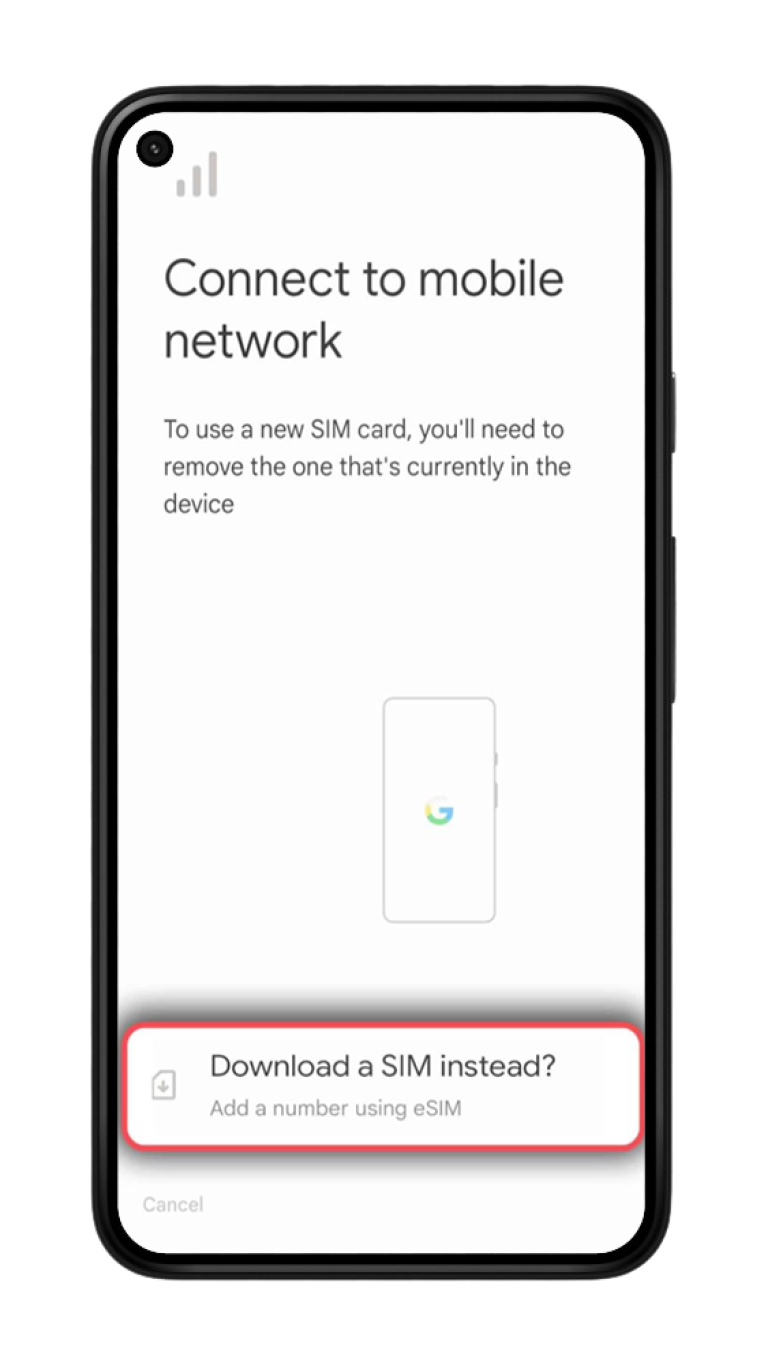
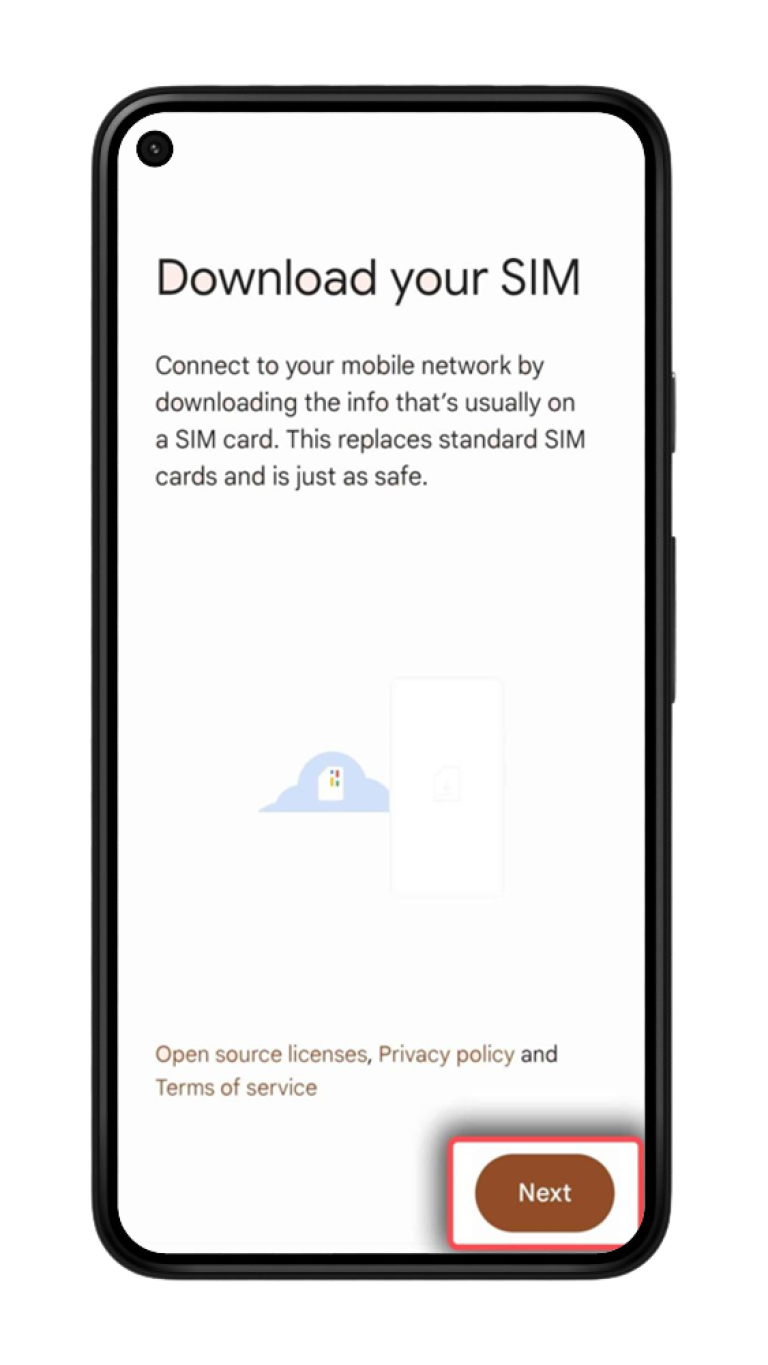
  3. Select Download a SIM instead.

  4. Select Next.

  5. Your device’s camera will be active on the screen. Scan the QR code using the camera.

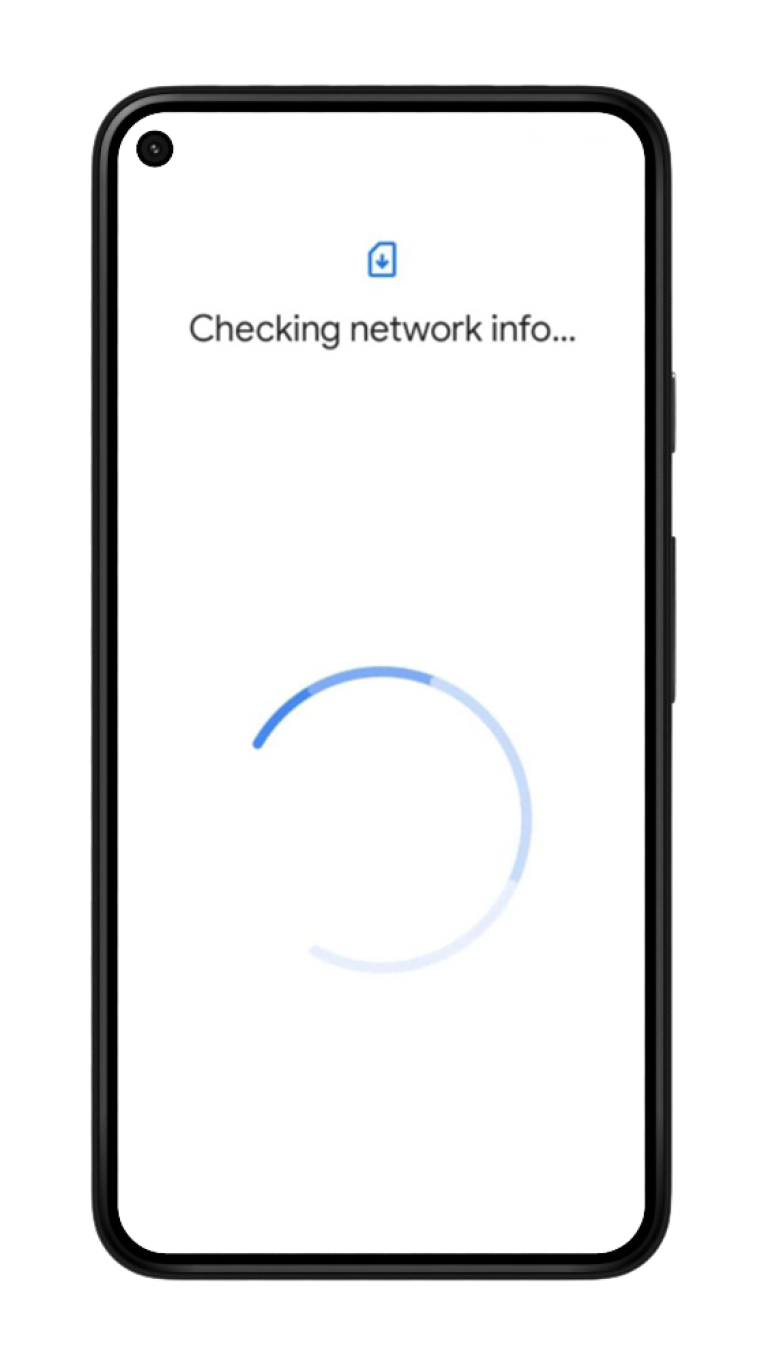
  1. Wait for the automatic installation.
 

These steps above may also differ slightly based on your Google Pixel models and Android device versions. However, it’s just a little different wording, but the steps are basically.

DataLendR eSIM Installed 100%
  1. On your Google Pixel device, go to Settings > Network & Internet.

  2. Tap on the ‘t’ beside the SIM/Mobile network.

  3. Select Download a SIM instead.

  4. Choose Next to confirm your agreement on policies and terms of service.

  5. Choose the Need help button on the bottom left.

  6. In the line “Having trouble scanning your QR code?”, choose the option Enter it manually.

  1. Enter the eSIM code into the box ano choose Continue.

  2. Choose Download to download your eSIM profile.

Get Started

Simply, Anywhere.

Choose a Plan

Select Unlimited or Prepaid eSIM plans for your destination country.

Scan QR Code

Scan the QR code with your eSIM-compatible device.

Connect to 4G or 5G

Add your international plan to avoid roaming fees.

Your Travel eSIM in 5 Minutes

Activate any of our Unlimited or Prepaid eSIM plans using a built-in eSIM, all while keeping your current plan.

QR code sent directly to your email

Quick and effortless setup

Seamless mobile internet connection

Frequently Asked Questions

How to install my eSIM?

Here is a complete guide on how to install your eSIM:

iPhone Setup

Samsung Setup

Google Pixel Setup

What makes DataLendR different?

Here’s what makes DataLendR different from other eSIM providers:

Privacy : We prioritize your privacy by not accessing your personal information, while other providers may collect your data during registration.

No Signup Required: With DataLendR, you can buy an eSIM without signing up. Plus, you can activate it instantly within 5 minutes, making it quick and hassle-free.

Fastest Networks: We connect you to the fastest and most reliable networks, ensuring seamless internet wherever you go.

Flexible Plan Options: Choose from a variety of plans that suit your travel needs, whether you’re away for a few days or several weeks.

Global Coverage & Competitive Pricing: Enjoy broad global coverage at affordable rates, with pricing designed to offer more value compared to other providers who may have limited plans or higher costs.

Can I activate my plan later?

Yes, you can activate your plan later! Even if you activate it now, the validity period will only start once you connect to a network at your destination, so you don’t have to worry about it expiring before your trip.

Can I activate my eSIM without a connection?

You’ll need an internet connection, such as Wi-Fi, to activate your eSIM, but typically, you won’t need it afterward. It’s always a good idea to confirm with your eSIM plan provider.

Are eSIMs safer than physical SIM?

Physical SIM cards come with drawbacks: they can be damaged, lost, or stolen, especially with frequent swaps. In contrast, eSIMs are embedded in your device, eliminating the risk of damage or loss—unless your phone itself is compromised.

Can I switch back to a physical SIM?

Yes, you can switch back to your physical SIM card. Just delete the eSIM from your device and turn your physical SIM card back on.